
Last updated November 2, 2026
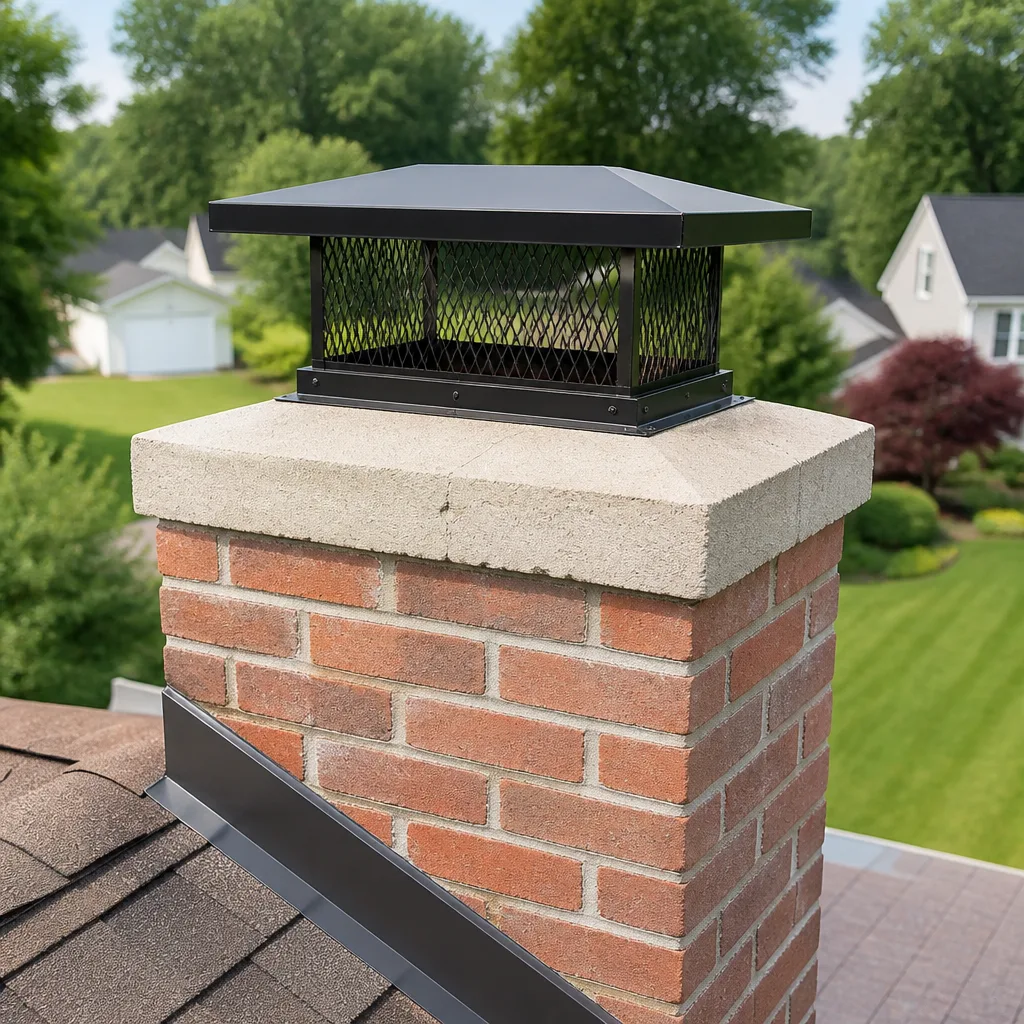 Sweep & inspection
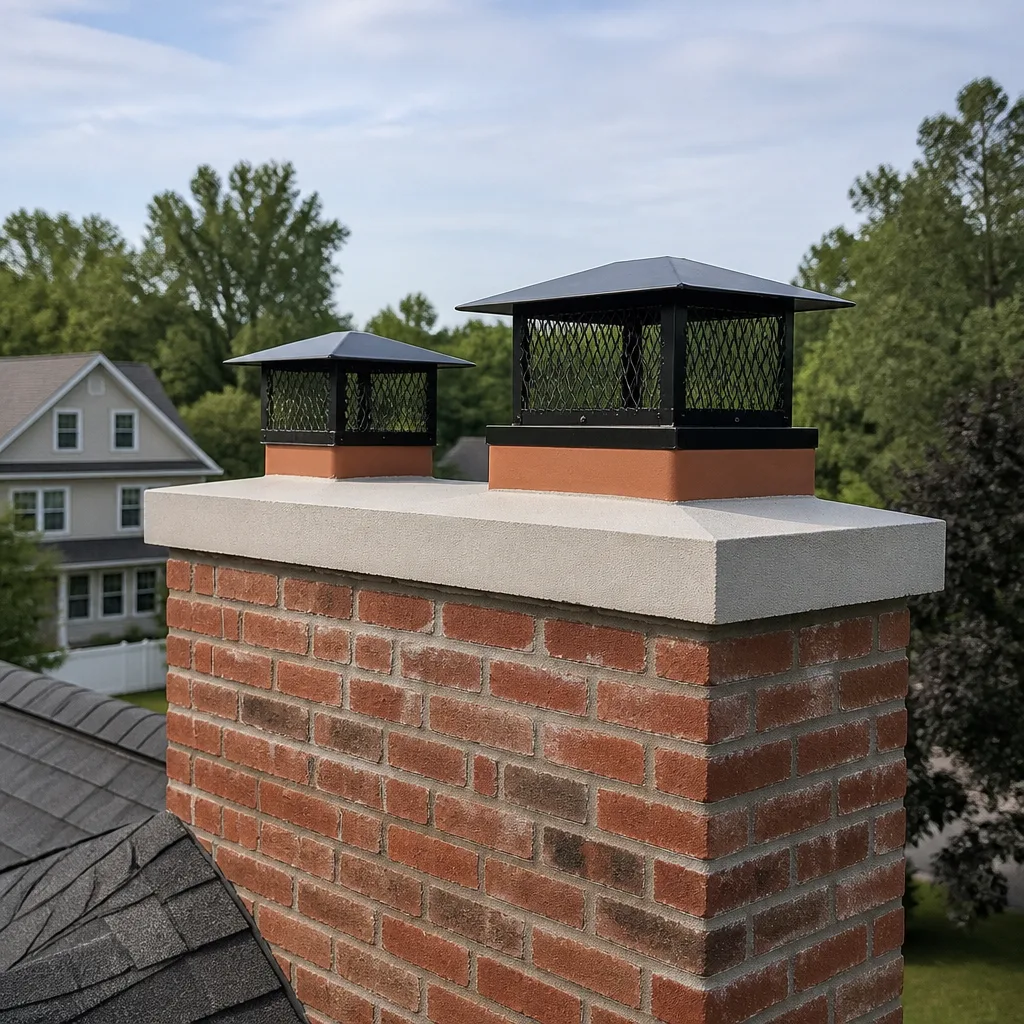 Caps & crowns
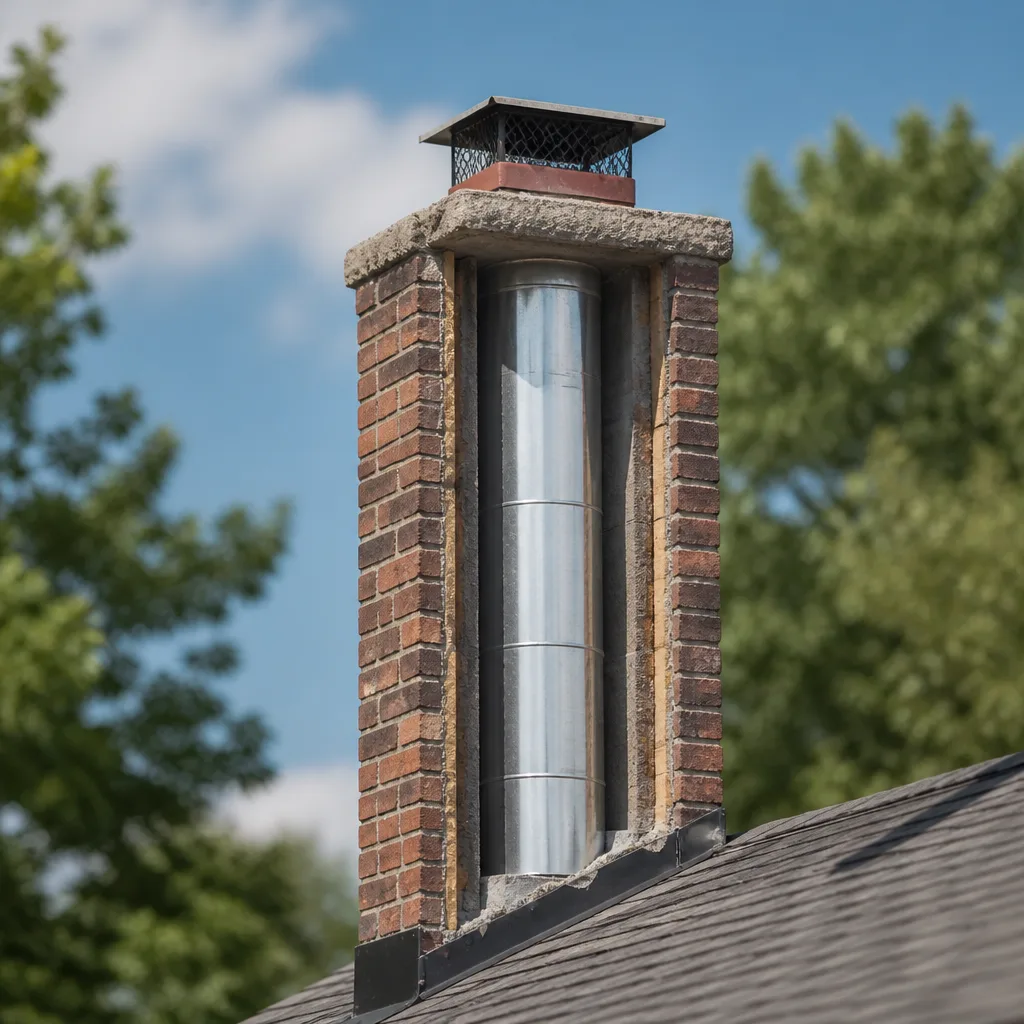 Flue relining
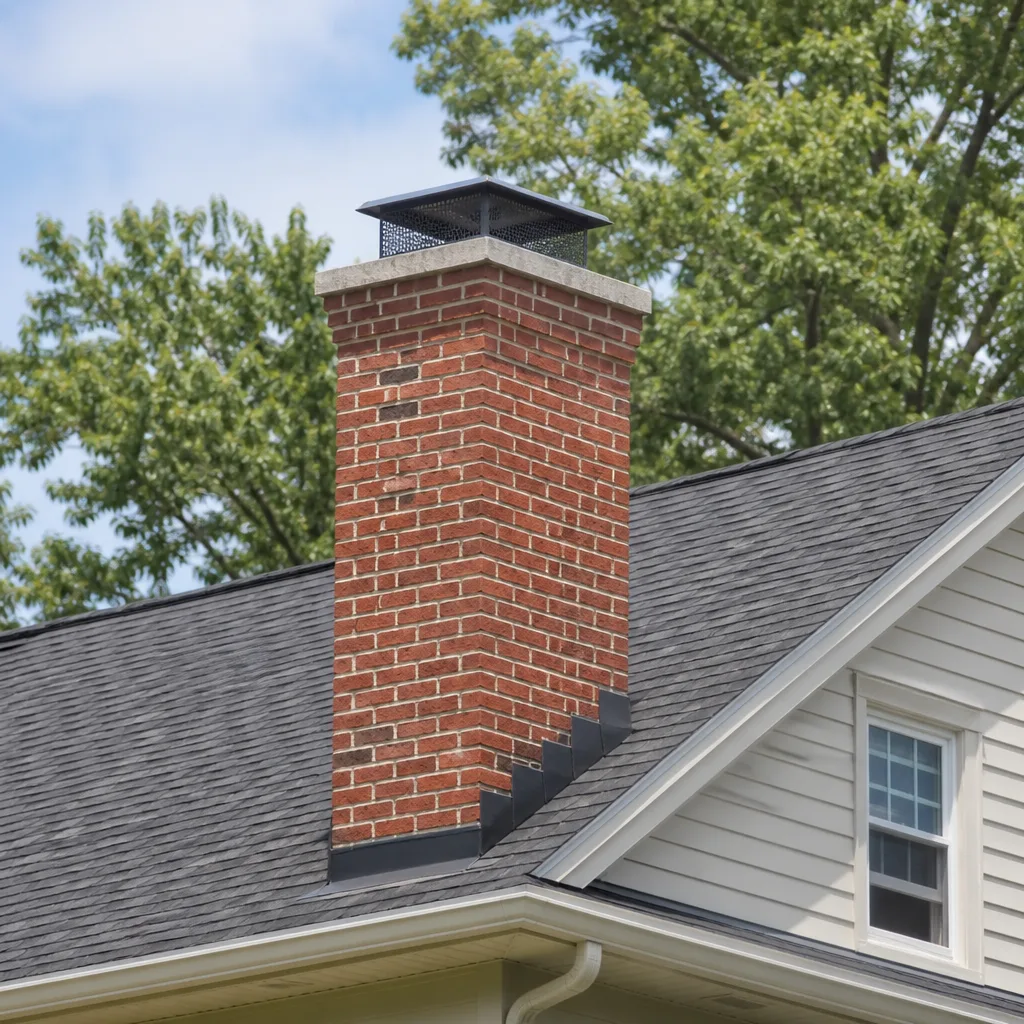 Masonry repair
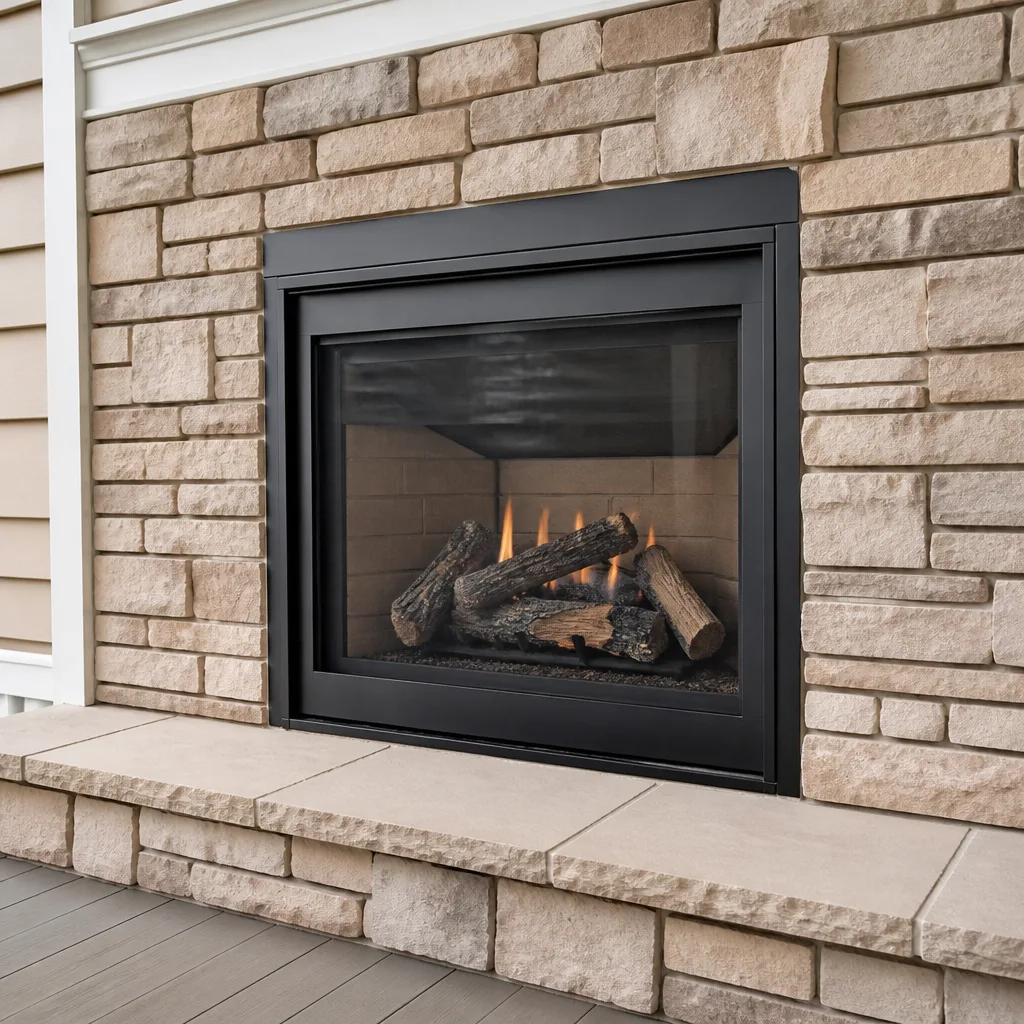 Gas fireplace service
Level 1 sweep and inspection to the NFPA 211 annual standard - flue, crown, cap, and flashing checked and photographed
Chimney sweep logs do not sweep chimneys. They loosen some creosote - which then falls where a brush and vacuum still have to collect it.
DIY vs Professional Chimney Cleaning: The Reseda Homeowner’s Decision Guide
Here’s what most DIY chimney cleaning guides won’t tell you: the brush work is the easy part. What separates a genuinely safe fireplace from one that’s quietly accumulating a fire hazard is what’s happening 15 feet above your firebox, in the parts of the flue you can’t see from below. In Reseda, where winter evenings dip into the 40s and fireplaces get real seasonal use from November through February, homeowners face a decision that has less to do with skill and more to do with visibility. This guide gives you a clear-eyed framework for deciding whether to grab a brush and rod set or pick up the phone, based on what’s actually inside your chimney, not what a YouTube video makes look simple. For How to Hire a Chimney Cleaning Contractor in Reseda: A Step-by-Step Guide, see our companion resource.
Styles & brands we work with
- Sweep & inspection
- Caps & crowns
- Flue relining
- Masonry repair
- Gas fireplace service
Quick Answer
DIY chimney cleaning is a reasonable option for Reseda homeowners with a straight, unlined or properly lined flue, light stage 1 creosote, and a fireplace used fewer than 30 fires per season. But if you have stage 2 or 3 creosote, any bends or offsets in your flue, a history of water stains on interior walls near the chimney, or you haven’t had a professional inspection in over two years, DIY cleaning creates false confidence and defers real risk. The deciding factor should be whether you can genuinely see and interpret what’s in your flue, not how confident you feel with a drill-powered brush.
Table of Contents
- The Three Creosote Stages: What They Look and Feel Like
- The Three Flue Conditions Where DIY Cleaning Makes Sense
- The Four Flue Conditions Where DIY Creates False Confidence
- What a Legitimate DIY Attempt Actually Requires: Equipment and Honest Cost Comparison
- Insurance and Liability: What Reseda Homeowners Need to Know Before DIY
- The Hybrid Approach: What You Can Maintain, What Requires Credentialed Eyes
- Common Mistakes to Avoid
- When to Call a Professional
- Frequently Asked Questions
- The Bottom Line
The Three Creosote Stages: What They Look and Feel Like
Before you decide whether to clean your own chimney, you need to understand what you’re cleaning. Creosote is the byproduct of incomplete wood combustion, and it deposits on flue walls in three distinct stages. Each stage requires a different approach, and misidentifying what’s in your flue is the most common source of DIY trouble we see from homeowners in Reseda.
Stage 1 creosote is a fine, flaky, dark brown or gray powder that resembles coffee grounds or dry soot. If you run a gloved finger across a cool flue wall and come away with a dusty residue that brushes off easily, you’re looking at stage 1. This is the only creosote stage that a homeowner with the right tools can legitimately remove with a brush. It forms primarily from hot, efficient fires using seasoned hardwood, and it’s what most casual fireplace users in Reseda have after a season of occasional use.
Stage 2 creosote is the game-changer. It’s shiny, black, and flaky, resembling cornflakes or hardened tar. It forms when flue temperatures drop too low during the burn, causing creosote to condense as a liquid and then harden into a brittle, glassy layer. Stage 2 creosote is stubborn. A brush alone won’t fully remove it, and attempting to scrape it with store-bought tools often leaves significant deposits behind. This is the stage where DIY cleaning starts to fail, because the homeowner believes the flue is clean when it isn’t.
Stage 3 creosote is a dense, shiny, tar-like glaze that looks like the inside of a freshly paved driveway. It’s hardened, concentrated fuel. If you see or suspect stage 3 creosote in your Reseda home’s chimney, do not attempt to clean it yourself. This material is highly combustible and almost impossible to remove without professional rotary cleaning systems and, in some cases, chemical treatments that break down the tar. Stage 3 creosote is also frequently accompanied by liner damage, which brings us to the next section.
The thing about creosote stages is that you cannot reliably identify them from the firebox opening. You need a bright light and either a mirror angled up the flue or a camera. Even then, interpreting what you’re seeing takes experience. A homeowner who’s never seen stage 2 creosote might assume that shiny black surface is just “how chimneys look.” It isn’t.
The Three Flue Conditions Where DIY Cleaning Makes Sense
We’re not anti-DIY. We’re anti-uninformed-DIY. There are specific, identifiable conditions where cleaning your own chimney in Reseda is a reasonable, safe choice. They’re narrower than most hardware store aisles suggest.
Condition one: A straight flue with no offsets or bends. If your chimney rises directly from the firebox to the termination cap without any angles, a brush on a flexible rod will make full contact with the flue walls. Straight flues are the minority in Reseda’s 1950s and 1960s ranch homes, but they do exist, particularly in single-story houses with simple rooflines. If you’re not sure whether your flue is straight, you don’t have one. Straight flues are visible: look up from the firebox with a flashlight and a mirror, and you should see daylight or the cap at the top. Any darkness, any curve, any offset, and you’re guessing.
Condition two: Confirmed stage 1 creosote only. This means you’ve done a mirror and flashlight inspection, you see only dusty, flaky brown or gray residue, and you can run a chimney brush up and down without encountering resistance. If you’ve had a professional inspection within the last 12 months that documented stage 1 creosote, even better. You’re working with known conditions, not assumptions.
Condition three: Light, occasional use with seasoned hardwood. A fireplace burning well-seasoned oak or almond (common in the San Fernando Valley) at proper temperatures for 20 to 30 fires per season produces minimal creosote. If that describes your usage, and you’re comfortable with the physical work, a DIY sweep between professional inspections can be a legitimate maintenance routine. The key phrase is “between professional inspections.” No homeowner in Reseda should go more than two years without a camera inspection, regardless of how diligent their DIY cleaning is.
The Four Flue Conditions Where DIY Creates False Confidence
Now for the harder truth. The majority of chimneys we inspect in Reseda after a homeowner has done their own cleaning fall into one of these four categories. The homeowner believes the job is done. The flue says otherwise.
Condition one: Any bend, offset, or smoke shelf accumulation beyond light dusting. The smoke shelf is the flat area just above the firebox where the flue narrows. Creosote and debris collect there because it’s out of the direct path of a brush. A homeowner running a brush up and down the flue will miss the smoke shelf entirely. We routinely find 2 to 3 inches of accumulated creosote and wildlife debris on smoke shelves of chimneys whose owners cleaned them “thoroughly” twice a season. This is not a minor oversight. Smoke shelf accumulation is a direct fuel source for chimney fires.
Condition two: Stage 2 or 3 creosote. As covered above, stage 2 creosote won’t come off with a standard brush, and stage 3 is actively dangerous to work with. If you’ve identified either, the DIY decision is over. What you need is a professional rotary cleaning system, and possibly liner resurfacing. Products like HeatShield exist specifically to restore flues damaged by creosote and corrosion, and that work requires certified application. No homeowner with a drill attachment is going to replicate that.
Condition three: Cracks, gaps, or missing mortar in the flue or firebox. A chimney brush won’t fix structural damage, and it often makes it worse. If your flue liner has hairline cracks or your firebox mortar joints are crumbling, running a brush across those surfaces can dislodge loose material and accelerate deterioration. Some Reseda homeowners learn about liner damage only after a DIY cleaning, when the brush knocks a cracked tile section loose. At that point, the repair is no longer optional, and it’s more expensive than it would have been with earlier detection.
Condition four: Water intrusion signs you’ve been ignoring. Dark stains on the ceiling or walls near your chimney, efflorescence (white chalky deposits) on the exterior brick, a musty smell from the firebox after rain, or a damper that’s rusted shut. These are all signs that your chimney’s termination point is failing. Gaps around the flue, a missing or damaged rain cap, or a crown that’s cracked and letting water in are problems a chimney brush won’t touch. In Reseda’s wet winters, water intrusion is the leading cause of liner deterioration and masonry damage. If you’re seeing any of these signs, cleaning is secondary. Diagnosis comes first.
What a Legitimate DIY Attempt Actually Requires: Equipment and Honest Cost Comparison
Let’s talk about what “DIY chimney cleaning” actually costs when you do it correctly. Not the $40 brush kit from the big-box store that promises a clean flue in an afternoon. A legitimate attempt that gives you any real confidence requires the following:
- A properly sized chimney brush: $45 to $85 for a poly or wire brush matched to your flue dimensions. Undersized brushes miss walls. Oversized brushes jam.
- Flexible rods or a drill attachment system: $60 to $180. Cheap fiberglass rods flex unpredictably in vertical runs. Drill-powered systems spin the brush, which helps with stage 1 but still won’t touch stage 2.
- Containment materials: $35 to $70 for plastic sheeting, painter’s tape, and a drop cloth. Creosote dust is toxic and gets everywhere. Airborne creosote particles land on carpet, furniture, and lungs.
- Proper PPE: $40 to $75 for an N95 or P100 respirator, safety goggles, and heavy-duty gloves. Creosote is a known carcinogen. Cleaning without respiratory protection is not a corner to cut.
- Lighting and inspection mirror: $30 to $80 for a bright work light and an inspection mirror large enough to actually angle up the flue. Without this, you’re cleaning blind.
- Drop cloths and cleanup supplies: $25 to $50. Creosote dust doesn’t stay in the firebox. It migrates.
Realistic total for a proper DIY setup: $280 to $540 for the first attempt, assuming you own none of the equipment. A professional chimney sweep in Reseda typically runs $180 to $300 and includes a camera inspection, full containment, proper disposal, and a written report of what was found. See our Chimney Cleaning Cost Breakdown: The Reseda Homeowner’s Reference for 2026 for full pricing details. If you plan to DIY, do the math honestly. You’re not saving money on the first cleaning. You’re investing in equipment that pays for itself if you clean regularly and correctly, which requires you to be right about the flue conditions every single time.
The economics change if you already own the equipment and you’ve had a professional inspection that confirmed stage 1 creosote in a straight flue. That’s the narrow window where DIY is both safe and economical. For most Reseda homeowners, the value of a Chimney Sweep in Reseda isn’t the brushing. It’s the camera footage showing what the brush actually did, and what it couldn’t reach.
Insurance and Liability: What Reseda Homeowners Need to Know Before DIY
Here’s a conversation most DIY chimney cleaning articles avoid entirely. What happens with your homeowner’s insurance if you clean your own chimney and later have a chimney fire?
Insurance carriers in California handle chimney fire claims with a specific line of questioning. They ask when the chimney was last professionally cleaned. They ask for documentation: receipts, inspection reports, service dates. If the answer is “I cleaned it myself,” the claim doesn’t automatically get denied, but it triggers additional scrutiny. The adjuster wants to know how you cleaned it, what tools you used, how you verified the creosote was removed, and whether you had any professional inspection confirming the flue was safe for use.
Here’s the problem: most homeowners who DIY cannot answer those questions with evidence. They can describe what they did. They cannot document what they could not see. If a chimney fire occurs due to creosote accumulation that a brush missed, on a smoke shelf, in an offset, behind a bend, and the homeowner has no professional inspection on record, the carrier has grounds to challenge the claim. This isn’t a hypothetical. We’ve spoken with Reseda homeowners who learned this after the fact.
Professional cleaning creates a paper trail. It documents what was found, what was removed, and what the condition of the flue was at the time of service. That documentation matters. It’s not just about the cleaning. It’s about demonstrating reasonable maintenance, which is what insurance carriers look for when chimney fire claims land.
There’s also the question of what you miss. A DIY cleaning identifies nothing. A professional cleaning identifies liner cracks, early water damage, and failing caps before they become insurance claims at all. Chimney Repair in Reseda work caught early is usually a few hundred dollars. Caught late, it’s a reline. That’s the hidden cost of skipping professional eyes.
The Hybrid Approach: What You Can Maintain, What Requires Credentialed Eyes
This is where the honest conversation lands for most Reseda homeowners. You don’t have to choose between all-DIY and all-professional. The smart division of labor looks like this:
What a homeowner can reasonably maintain between professional visits:
- Visual firebox inspection before each burn: Shine a flashlight up from the firebox. Look for shiny black deposits, visible cracks in the firebrick, or debris that shouldn’t be there. This takes two minutes and builds a baseline awareness of what’s normal for your chimney.
- Ash management: Remove ash when it accumulates more than 2 inches. Use a metal container with a tight lid. Store it outside, away from the house, on a non-combustible surface. Embers in ash can stay hot for days.
- Burn practices that reduce creosote: Burn only seasoned hardwood. Never burn treated lumber, construction debris, or glossy paper which all produce higher creosote loads. Make sure your damper is fully open during burns. Build smaller, hotter fires rather than one smoldering log all evening.
- Exterior visual checks: Walk around your home and look at the chimney cap. Is it still there? Is it leaning? Are there visible cracks in the crown? Can you see wildlife activity around the termination point? These observations help you know when to call a professional before a problem compounds.
What requires credentialed eyes and equipment every time:
- Camera inspection of the full flue length, including the smoke shelf and termination point
- Creosote removal beyond light stage 1 dusting
- Any liner assessment, especially if your home is older and the liner may be original unglazed clay tile
- Cap and crown evaluation, including products from manufacturers like Gelco and Olympia Chimney that are specified for specific termination conditions
- Any repair work, including liner resurfacing with HeatShield or full relining with DuraFlex systems
The hybrid approach is what we recommend to homeowners who ask us directly. Get a professional camera inspection and cleaning. If the flue is confirmed straight and stage 1, maintain it yourself through the season with proper burn practices and visual checks. Call us back when something changes. That’s not a waste of a cleaning. That’s a diagnostic baseline. “We explain what we find” isn’t a tagline for us. It’s the actual service.
For homeowners in Reseda who burn regularly, we suggest at minimum one professional inspection per year. If you use your fireplace heavily, more than 50 fires per season, or you burn wood that’s not fully seasoned, twice a year is appropriate. The Chimney Sweep Reseda home page covers what a standard sweep and inspection includes, but the short version is: camera, report, and a conversation about what we saw, not a rushed brush and a receipt.
Common Mistakes to Avoid
- Cleaning without an inspection first. Running a brush through a flue you haven’t inspected is like changing your oil without checking the dipstick. You’re doing work, but you don’t know if it’s the right work. At minimum, use a bright light and mirror from below. Better: get a camera inspection, then decide.
- Assuming a drill-powered brush removes stage 2 creosote. It doesn’t. The spinning action helps with loose debris, but hardened, glaze-like creosote requires chemical treatment or professional rotary systems with specialized heads. Homeowners in Reseda who rely on drill brushes often see the shiny black walls and assume that’s normal, clean flue surface.
- Skipping the smoke shelf. Every DIY cleaning that ignores the smoke shelf leaves behind the single most concentrated fuel deposit in the system. Brushes pass right over it. If you’re not specifically addressing the smoke shelf with mirror inspection and manual cleaning, you haven’t cleaned the chimney.
- Using a chimney brush on a damaged liner. If your flue tiles are already cracked, a brush makes it worse. Older Reseda homes with original clay tile liners are particularly vulnerable. If you suspect liner damage, stop cleaning and schedule an inspection.
- Burning “cleaning logs” as a substitute for sweeping. Creosote sweeping logs can help break down early stage creosote, but they’re a supplement to mechanical cleaning, not a replacement. Some Reseda homeowners burn one a month and believe their chimney is clean. It isn’t.
- Ignoring the dryer vent while focusing on the chimney. Dryer vents are a leading cause of residential fires, and many homeowners who maintain their chimneys diligently never think about the dryer vent in the laundry room. Dryer Vent Cleaning in Reseda addresses the other half of the venting fire risk equation, and it’s one of the services we handle alongside chimney work.
- Waiting until fall to inspect. Reseda chimney companies book up fast in October and November when the first cold nights arrive. If you wait until you want to light the first fire, you’re competing with every other homeowner who had the same thought. Schedule inspections in late summer or early fall.
When to Call a Professional
If any of the following applies to your Reseda home, stop evaluating the DIY option and schedule a professional inspection: you see shiny black deposits in your flue; you’ve had a chimney fire, even a small one that went out on its own; you smell smoke when the fireplace isn’t in use; you see water stains on ceilings or walls near the chimney; your home predates 1980 and the original liner has never been assessed; or you bought the home and have no records of previous chimney service. These are not cleaning issues. They’re diagnostic issues. Chimney Sweep Reseda offers free estimates in Reseda, call (866) 562-0968. We’ll tell you what we find and what it means, on camera, before any work is discussed.
Frequently Asked Questions
A professional chimney sweep in Reseda typically costs between $180 and $300, depending on the condition of the flue, accessibility of the roof, and whether any repairs are identified during inspection. Camera inspection is usually included in the sweep, which means you’re paying for documentation, not just brushing. Call (866) 562-0968 for an exact quote for your specific chimney.
The National Fire Protection Association recommends a chimney inspection at least once per year, with cleaning performed whenever creosote accumulation reaches 1/8 inch or more. For Reseda homeowners who burn 20 to 40 fires per season with seasoned hardwood, annual inspection is usually adequate, though cleaning may not be needed every single year. If you burn more frequently, use softer woods, or notice any change in fireplace performance, schedule inspection sooner.
Yes, bottom-up cleaning is possible with flexible rod systems and proper containment, but it has significant limitations. You cannot properly inspect the termination point, cap, or crown from below, which means you’re cleaning blind at the top of the system. Some flues with offsets are nearly impossible to brush effectively from below. If you’re not comfortable on a roof and want the full picture, this is a strong argument for professional service rather than a workaround.
Chimney cleaning logs release chemicals that can break down early stage creosote, making it easier to remove mechanically, but they do not replace brushing. The creosote doesn’t disappear. It loosens and remains in the flue, where it still poses a fire risk until physically removed. If you use cleaning logs, use them as a supplement to regular sweeping, not a substitute.
Stage 2 creosote looks like shiny black cornflakes or hardened tar stuck to the flue walls. It’s brittle but adheres tenaciously, and a standard chimney brush will not remove it completely. Removal requires rotary cleaning systems or chemical treatments applied by a professional. If you’re seeing shiny black deposits when you look up from the firebox, do not attempt DIY removal.
It depends entirely on what’s in your flue, and you cannot know that without looking. If the previous season’s creosote has accumulated to stage 2 or beyond, burning again creates a chimney fire risk. Reseda homeowners who haven’t had a professional inspection in over 12 months should schedule one before the first fire of the season. The cost of an inspection is far less than the cost of a chimney fire claim, or the denial of one.
The Bottom Line
DIY chimney cleaning in Reseda is not a yes-or-no question. It’s a series of conditions: straight flue, confirmed stage 1 creosote, light seasonal use, and a homeowner who accepts that cleaning is not the same as inspecting. When those conditions are met, DIY between professional visits is defensible. When they’re not, which is most of the time, the DIY brush creates a false sense of safety that defers the one thing that actually matters: knowing what’s inside your flue. If you’re not sure, the answer is simple. Schedule an inspection. See the footage. Then decide. Browse more guides & resources on chimney safety and maintenance.
Written by the team at Chimney Sweep Reseda, serving Reseda since 2012.
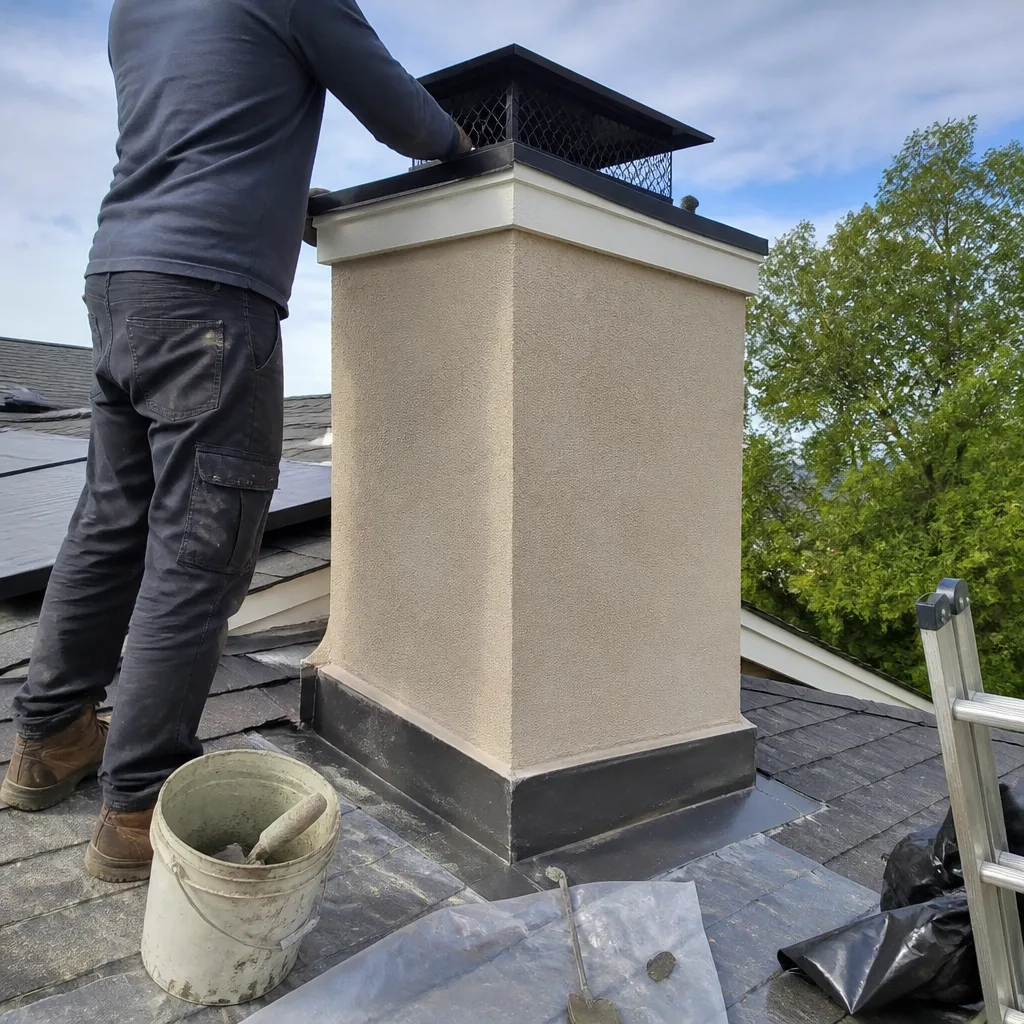
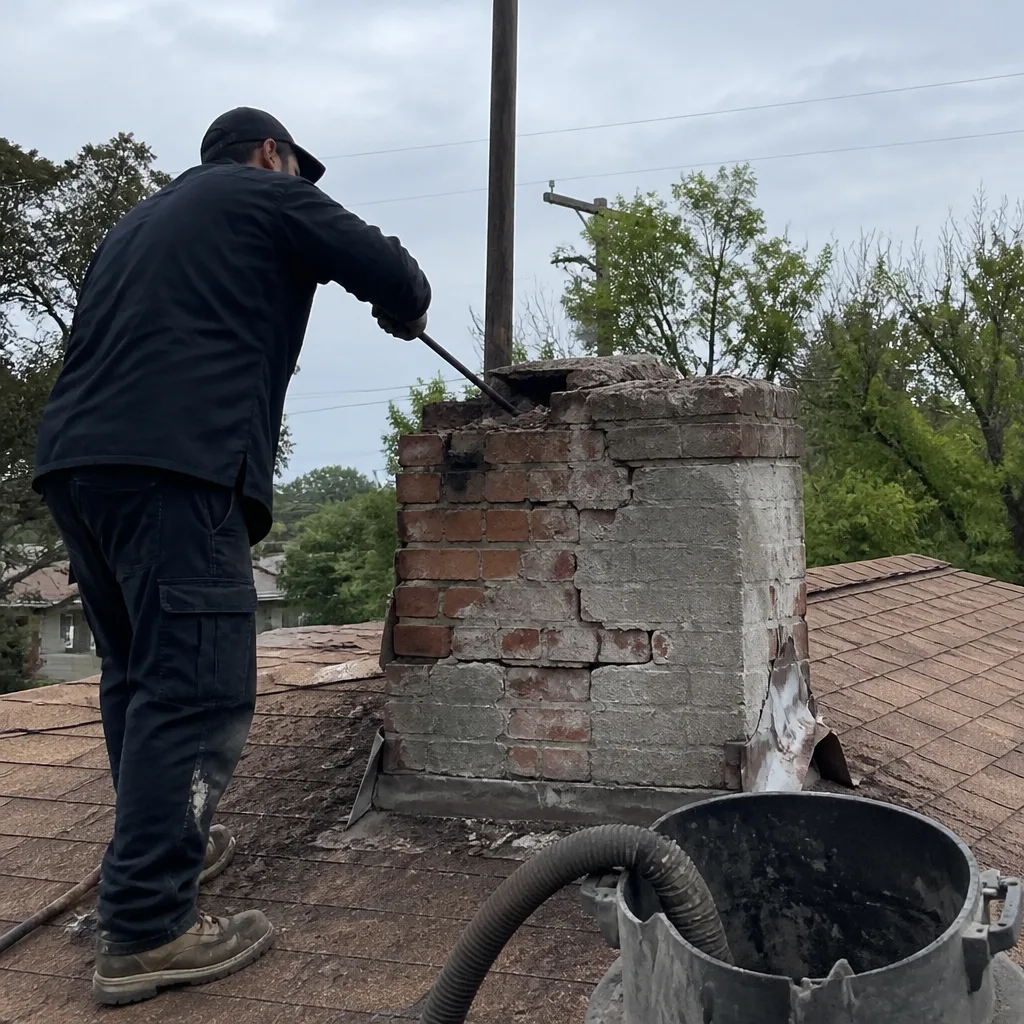
See the difference
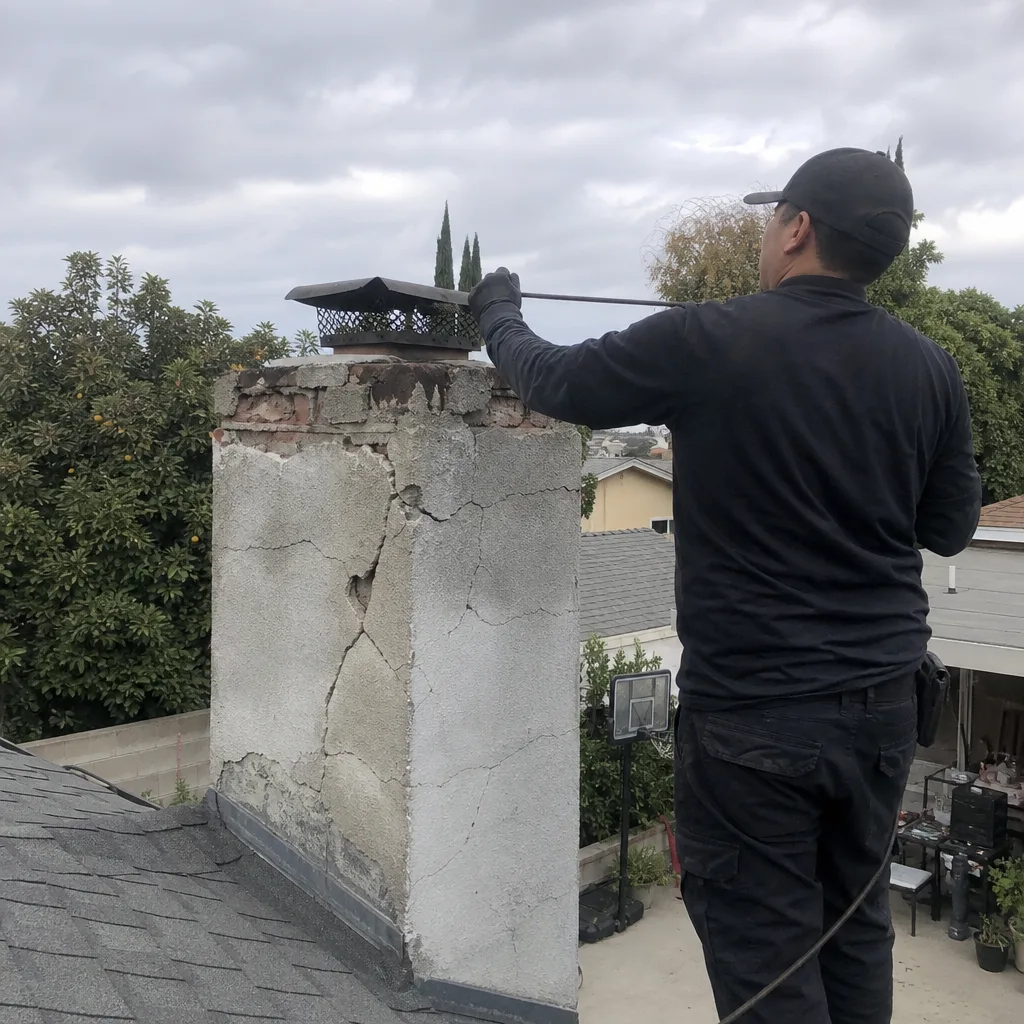 Before
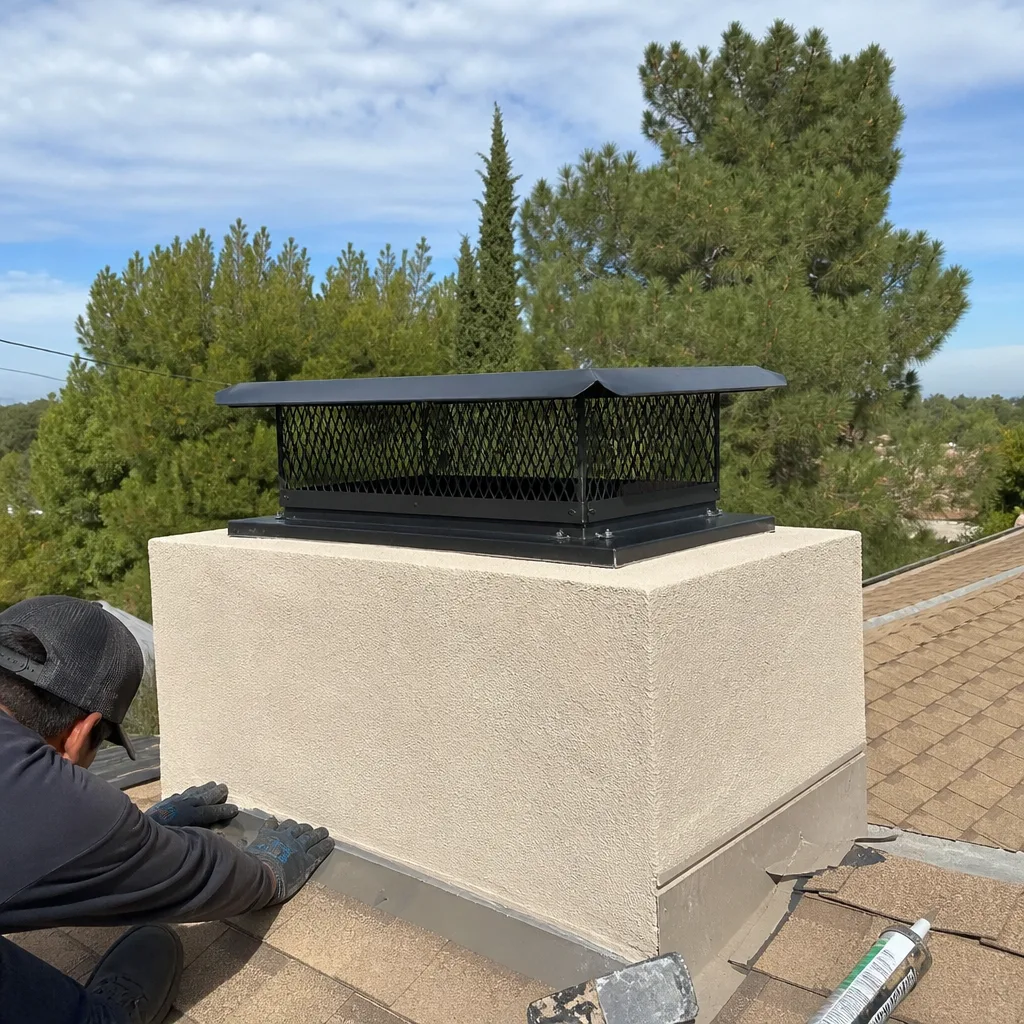 After
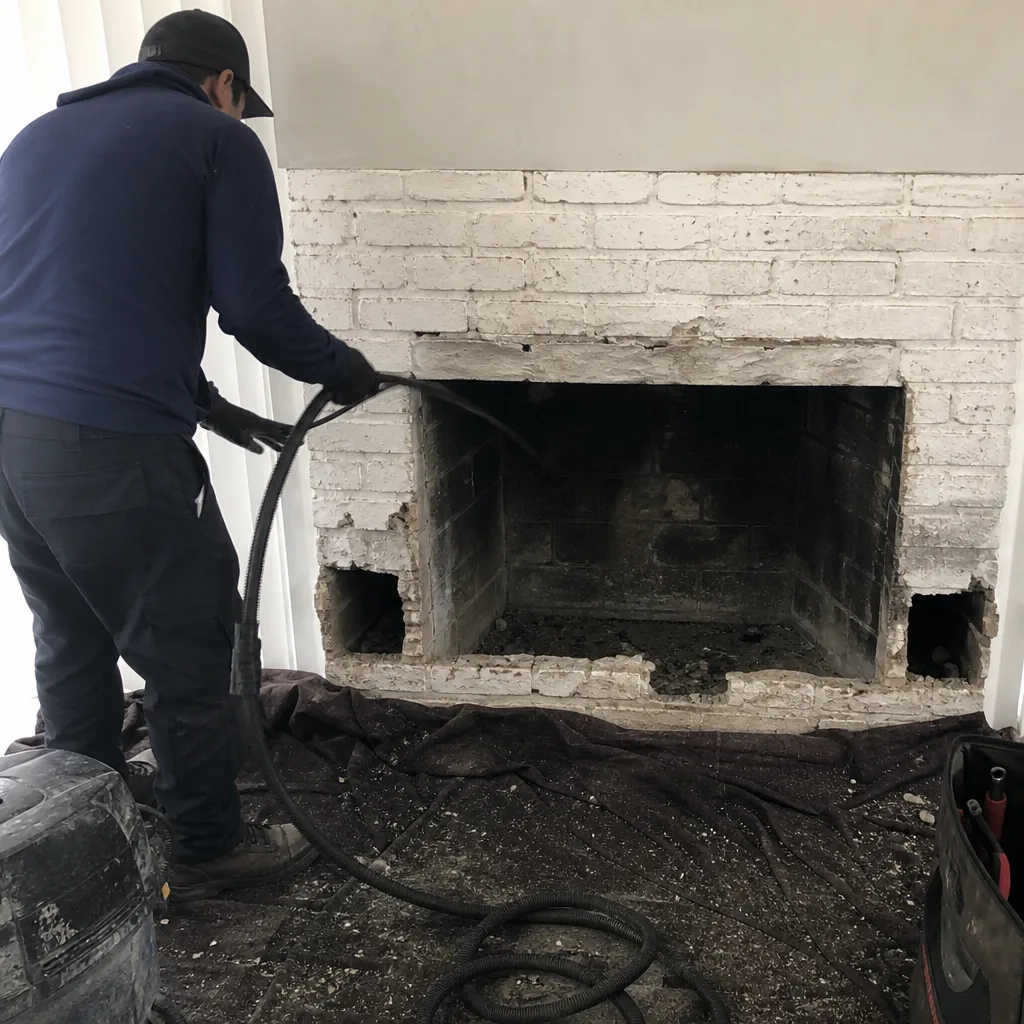 Before
 After
 Before
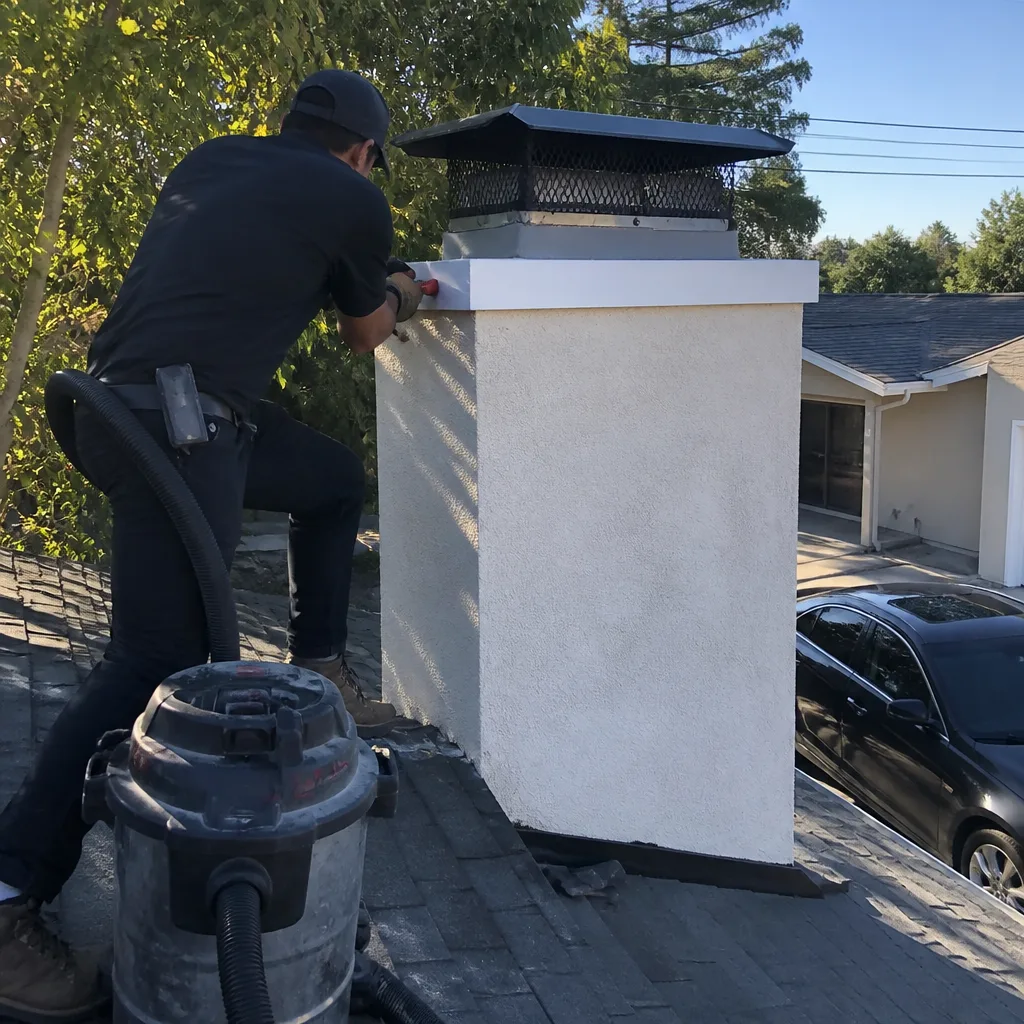 After